Latest Metrology News View All Posts
Featured Stories View All Posts
General Announcements View All Posts
Sponsored Video
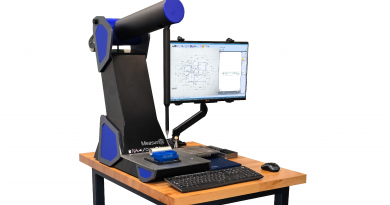
API Integrated Laser Tracker iLT
API has launched its 6th generation Laser Tracker: the Integrated Laser Tracker (iLT). iLT represents the pinnacle of Laser Tracker technology refinement, engineered to be the most portable, user-friendly Laser Tracker ever designed and featuring several improvements over the previous generation. iLT is the smallest Laser Tracker ever made, as robust as the Radian Laser Tracker, and available at the lowest price API has ever offered.
Editors Choice View All Posts
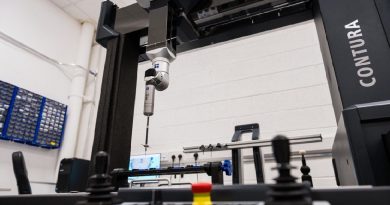
Coordinate Measuring Machines View All Posts
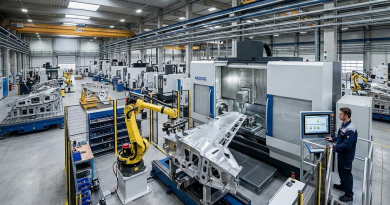
Smart Manufacturing View All Posts
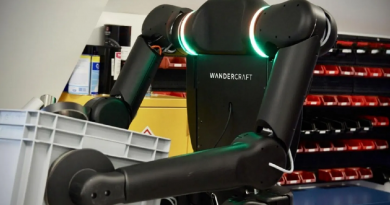
Automated Robotic Metrology View All Posts
Sponsored Video
Live Data Streaming With Renishaw Reporter App
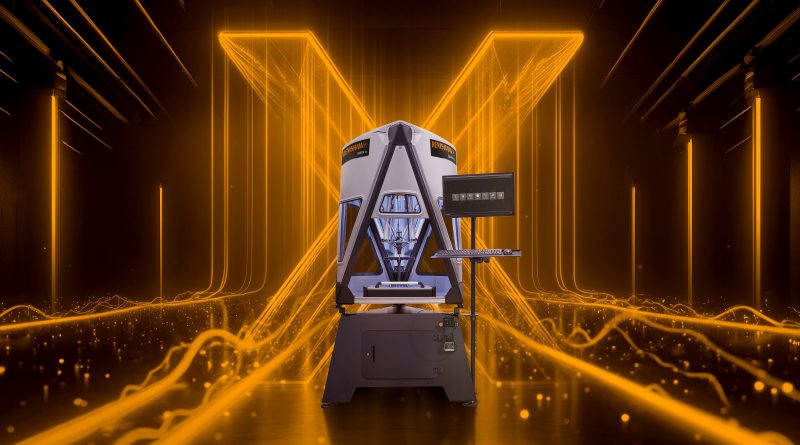
Discover the power of live data streaming with Renishaw’s Reporter app. Reporter is an easy-to-use, real-time process monitoring app for customers who wish to view component measurement data.
Portable Metrology View All Posts
Optical & Video Metrology View All Posts
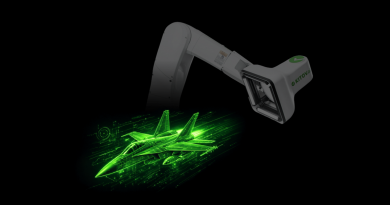
Major Aerospace Manufacturer Scales AI Inspection with KITOV.ai
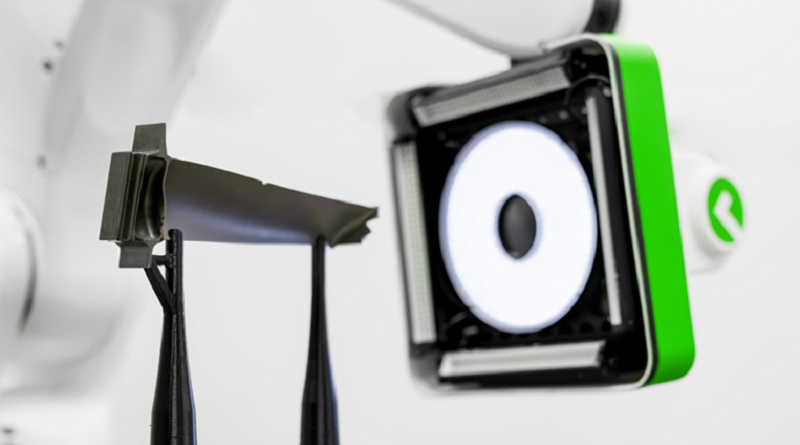
KITOV.ai, a leading provider of AI-Powered Quality Discovery solutions, has announced a follow-on order for an additional visual inspection system from a major American aerospace and defense manufacturer. This expansion underscores the customer’s commitment to leveraging Artificial Intelligence to master the complexity of mission-critical components.
Computed Tomography View All Posts
Software View All Posts
Nikon Boosts Throughput and Automation with Next-Generation NEXIV Software
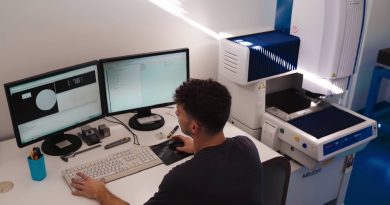
Nikon Corporation has announced major advancements across its NEXIV software lineup with the release of the newest versions of AutoMeasure and Advanced Measure, designed to significantly simplify program creation, automate operator tasks, and accelerate high‑volume measurement workflows.
Sensors View All Posts

GelSight to Develop Rugged ‘Digital Fingertip’ Sensors for Intelligent Robotics
GelSight, a pioneer in high-resolution tactile sensing technology, today announced it has been awarded a Phase II Small Business Innovation Research (SBIR) contract from the U.S. Air Force to develop a compact, rugged tactile ‘digital fingertip’ sensor designed to enhance intelligent robotic grasping and manipulation.
Machine Vision View All Posts
Artificial Intelligence View All Posts

Generating Value from Data and AI
Artificial intelligence (AI) has become indispensable in many companies. Examples such as AI agents, early defect detection in manufacturing, or logistics process optimization show that AI is already being used across a wide range of business functions. Although AI is increasingly recognized as a key technology, sustainable value creation remains elusive in many organizations.
Additive Manufacturing View All Posts
Application Stories View All Posts
Optical Vision Systems Transform Microchip Handling Accuracy
In the high-precision world of the semiconductor industry, every micrometer counts. To ensure the exact, contactless positioning of even the smallest components, esmo AG, a leading provider of special machine engineering, automation technology, and semiconductor handling, relies on optical inspection technology from senswork in its Talos system series.
High-Speed Medical Device Assembly Meets Real-Time Metrology
Combining advanced sensor technology from Kistler with a patented digital motion system from ATS LSS, Symphoni platform delivers real-time in-line quality assurance for medical devices, up to 320 parts per minute with 90 percent less tooling and full traceability.
Wagon Automotive Implements Inline Metrology Cell for Complex Chassis Components
Wagon Automotive’s production environment involves highly complex parts with varied geometries that must be inspected with tight tolerances. Ensuring consistent measurement accuracy while maintaining production speed presented a significant challenge.
ActionPlas Invests in Advanced CMM to Meet Demanding F1 Tolerances
Design and contract manufacturing firm ActionPlas Group, specialising in machining and fabricating plastic, metal components and assemblies for a wide variety of industries including automotive, food and drink, pharmaceutical and power generation, has upgraded its quality control department with the purchase of an Altera M 20.12.10 coordinate measuring machine (CMM) from LK Metrology.
Automated Inspection and Packaging of 36,000 Syringes per Hour
In pharmaceutical manufacturing, the integrity of the final product depends not only on how it is produced but also on how it is inspected, labelled and packaged. At high production volumes, these end-of-line processes must deliver both speed and absolute reliability while meeting stringent regulatory standards.
Inline Imaging-Ellipsometer Resets Speed Barrier for Thin-Film Quality Control in Roll-to-Roll Manufacturing
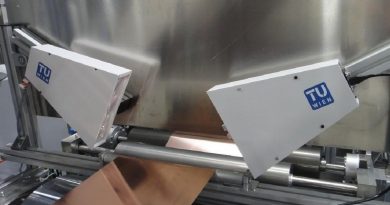
Researchers at TU Wien University have unveiled an inline imaging-ellipsometer purpose-built for roll-to-roll (R2R) production, with an Allied Vision EXO250ZU3 polarized camera at its core. The system delivers real-time, full-area optical thickness measurement of functional coatings directly on moving foils, eliminating the sampling delays and blind spots that have long plagued R2R quality assurance.
UBB Reșița Elevates Metrology Training with Cutting-Edge Mitutoyo CMM
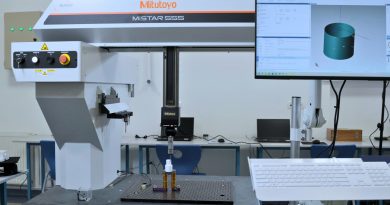
The Mitutoyo MiSTAR 555 is a 3D CNC CMM designed for precision, reliability, and durability – essential for frequent student use. Equipped with real-time temperature compensation technology, it maintains accuracy across a wide range of environmental conditions.
AI-Enhanced 3D Profilometry Delivers Eightfold Measurement Precision in Lumber Inspection
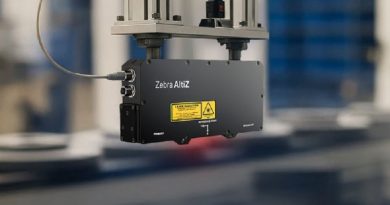
Zebra Technologies, a leader in digitizing and automating workflows to deliver intelligent operations, has announced that EBI Electric, an innovative wood scanning solutions provider, is using Zebra’s AltiZ 3D sensors to power its new AI-enriched lumber scanning solution, Inspector T.
Multisensor Metrology Automating Micron-Level Inspection in Micro Waterjet Cutting
WatAJet, an Italian excellence in micro waterjet cutting, has transformed an academia-developed technology into a unique production process. Thanks to Mitutoyo’s Quick Vision Apex, the company has revolutionised its quality control, taking precision, automation and reliability to the next level.
High-Precision Robotics Gains Ground in Aero-Structure Manufacturing
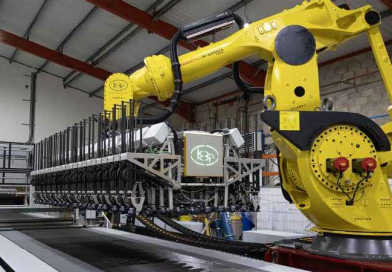
Composite aero-structures, primarily based on carbon fibre and epoxy resins, are essential in today’s aerospace to reduce weight, increase strength, and improve fuel efficiency. Their use in fuselages, wings, and stabilizers provides longer service life and greater corrosion resistance compared to conventional metals.
Large-Scale 3D Metrology Enables Reconstruction of Critical Agitation Component
By integrating portable 3D scanning technology with robust inspection workflows and CAD reconstruction, Buffalo Metrology delivered a comprehensive reverse engineering solution – transforming a fractured clarifier cover into a fully engineered pathway toward new fabrication.
AI-Powered End-of-Line Inspection Redefines Quality Control
Production companies are under enormous pressure today: Customers are demanding more and more variants, delivery times are shrinking, error rates must not increase, and traditional visual inspections quickly reach their limits. Visual quality control is becoming one of the biggest challenges for manufacturing industry. Every production error costs time, money, and reputation.
Driving Automotive Quality with Automation
To maintain quality and support its role as a trusted Tier-1 supplier to the Hyundai Motor Group, Ajin Industrial needed a faster and more repeatable measurement method.
Advanced Metrology Drives Red Bull Ford’s First F1 Power Unit
Hexagon’s metrology technologies enable Oracle Red Bull Racing and Red Bull Ford Powertrains to achieve extreme precision in a remodelled chassis with new aerodynamics and highly ambitious new 1.6 litre powertrain.

